Air Brake System Parts
1. Air Compressor
- The air compressor pumps air into the air storage tanks.
- It will be connected to the engine by gears of a v-belt
- It may have an air cooling system or be cooled by the engine’s cooling system
- The air compressor will either have it’s own oil supply or be lubricated by the engine’s oil.
2. Air Compressor Governor
- The air compressor governor controls when the air compressor will pump air to the air storage tanks.
- There are “cut-out” and “cut-in” levels. At the “cut-in” level the compressor will build air pressure when it drops around 100psi. The “cut-out” level is around 125psi, where the compressor will cease to build pressure.
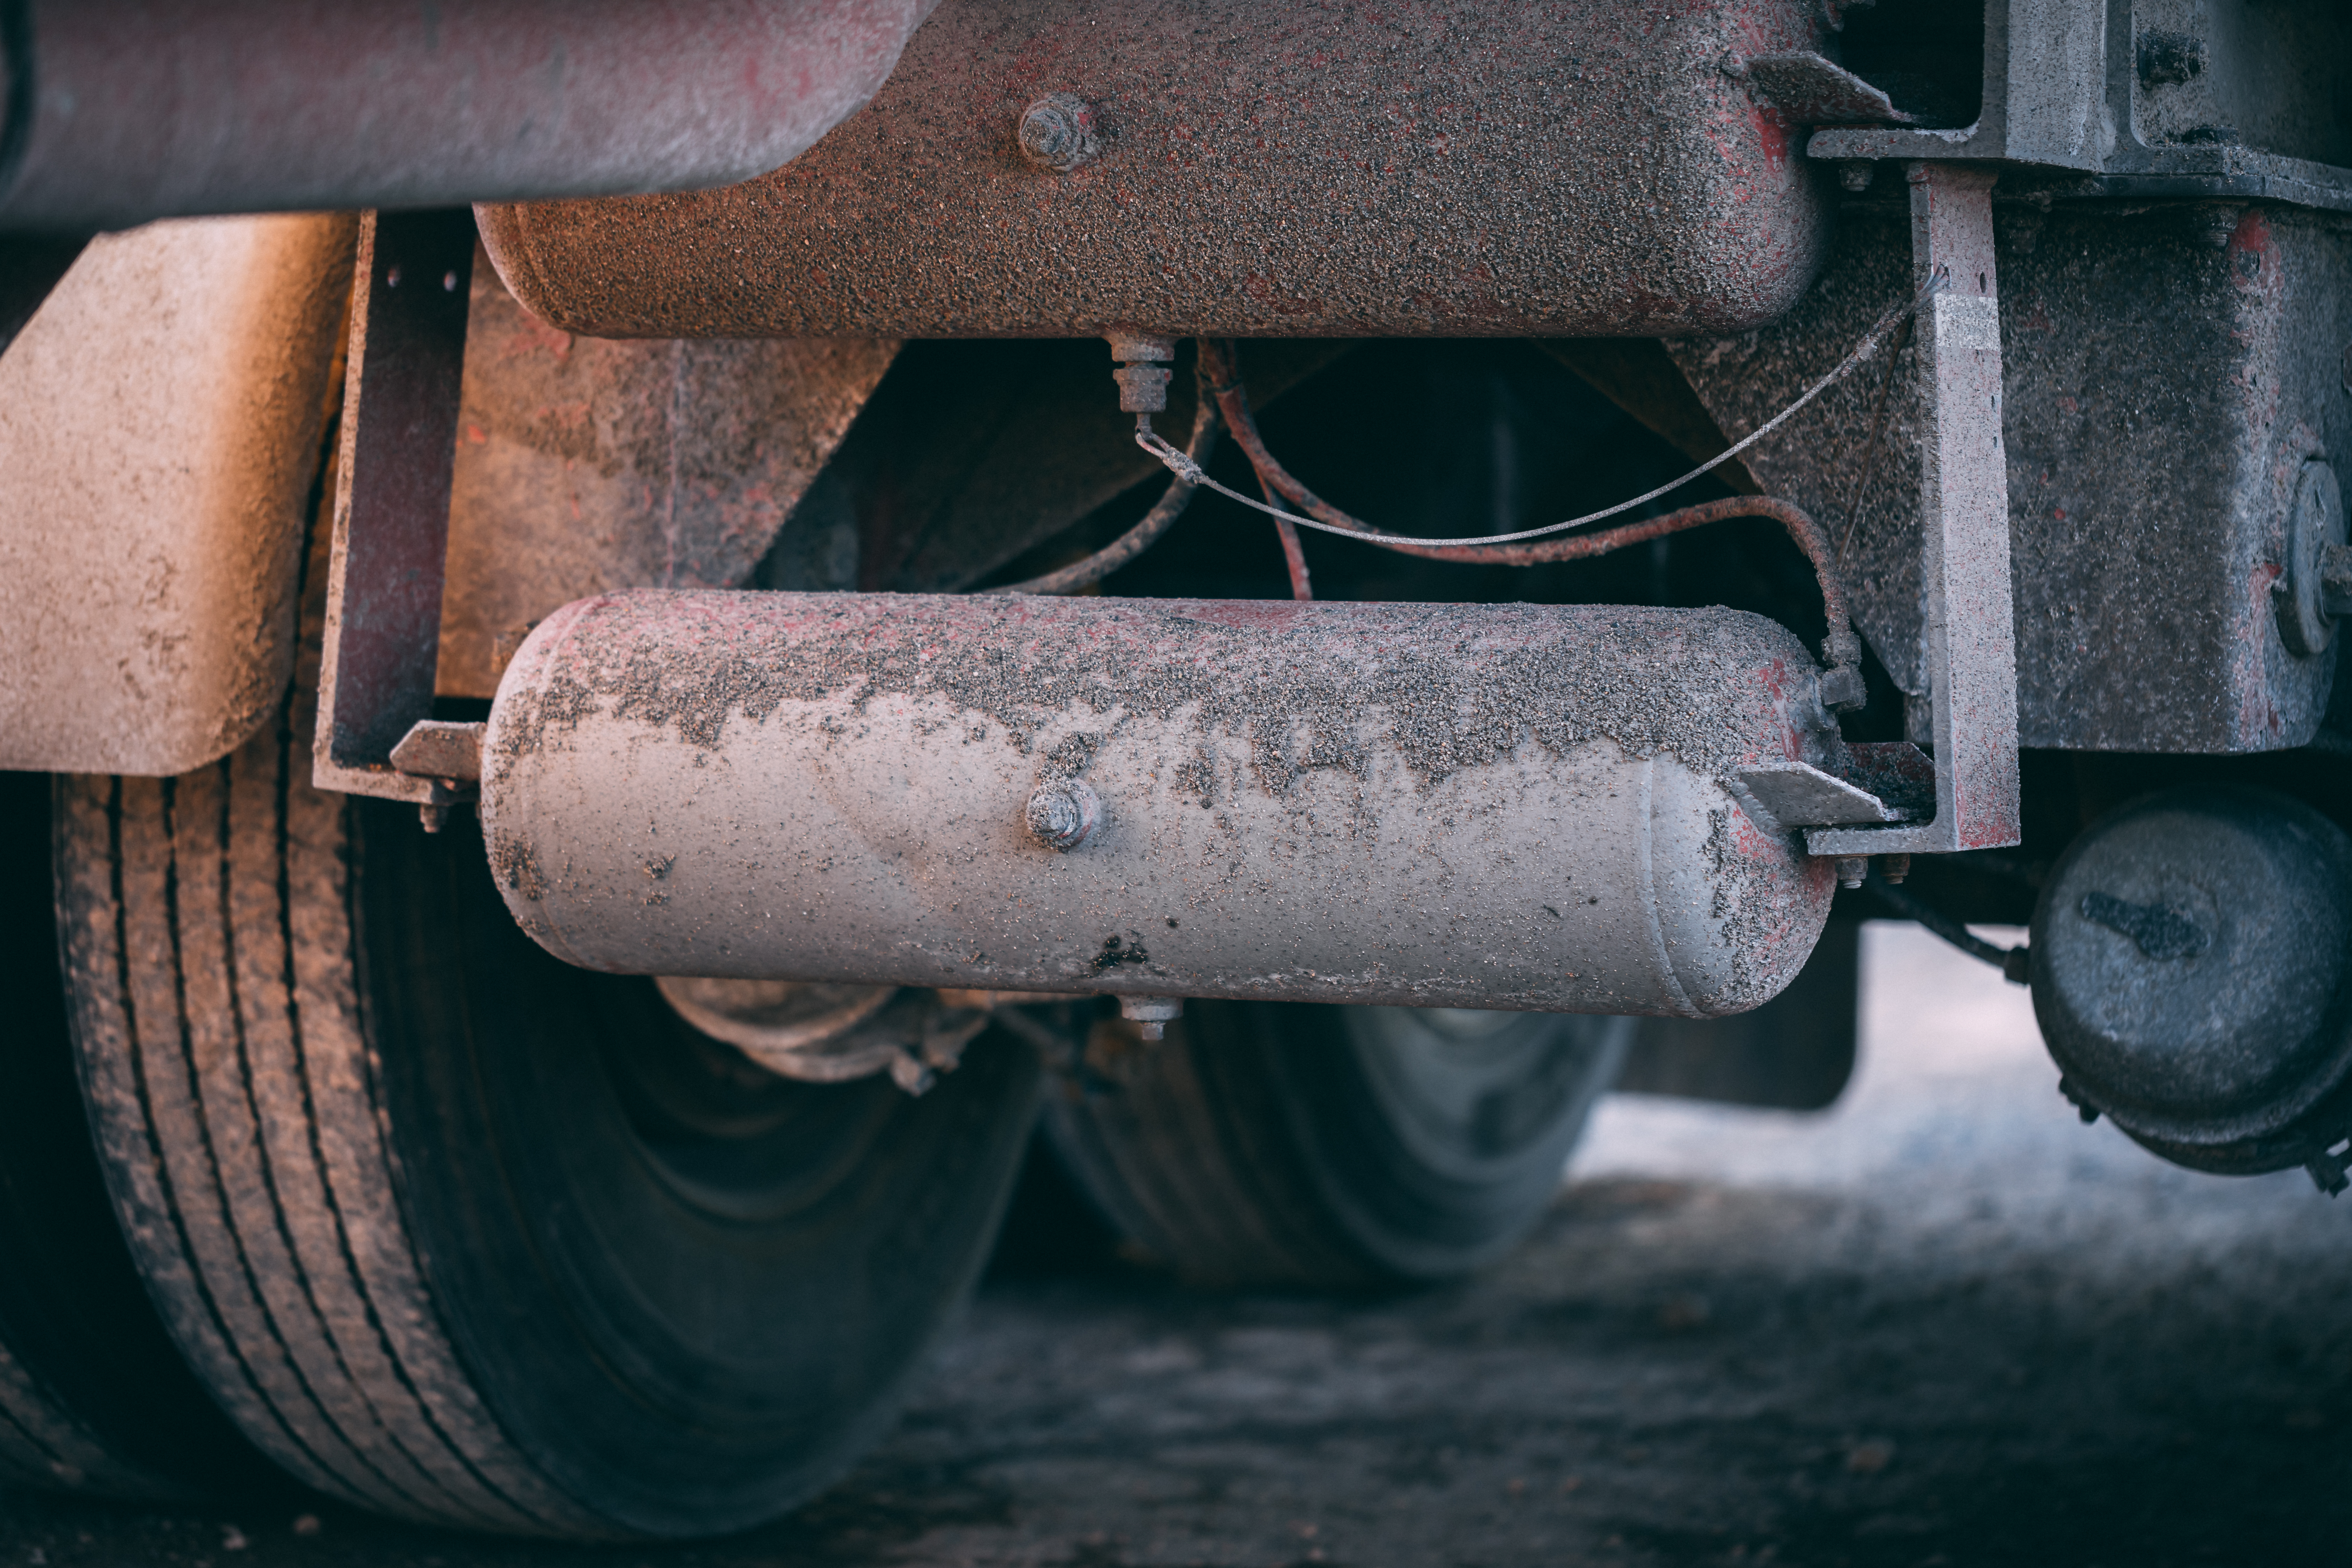
3. Air Storage Tank
- Tanks that hold compressed air.
- Tanks hold enough air to allow the brakes to be used multiple times regardless if the compressor stops working.
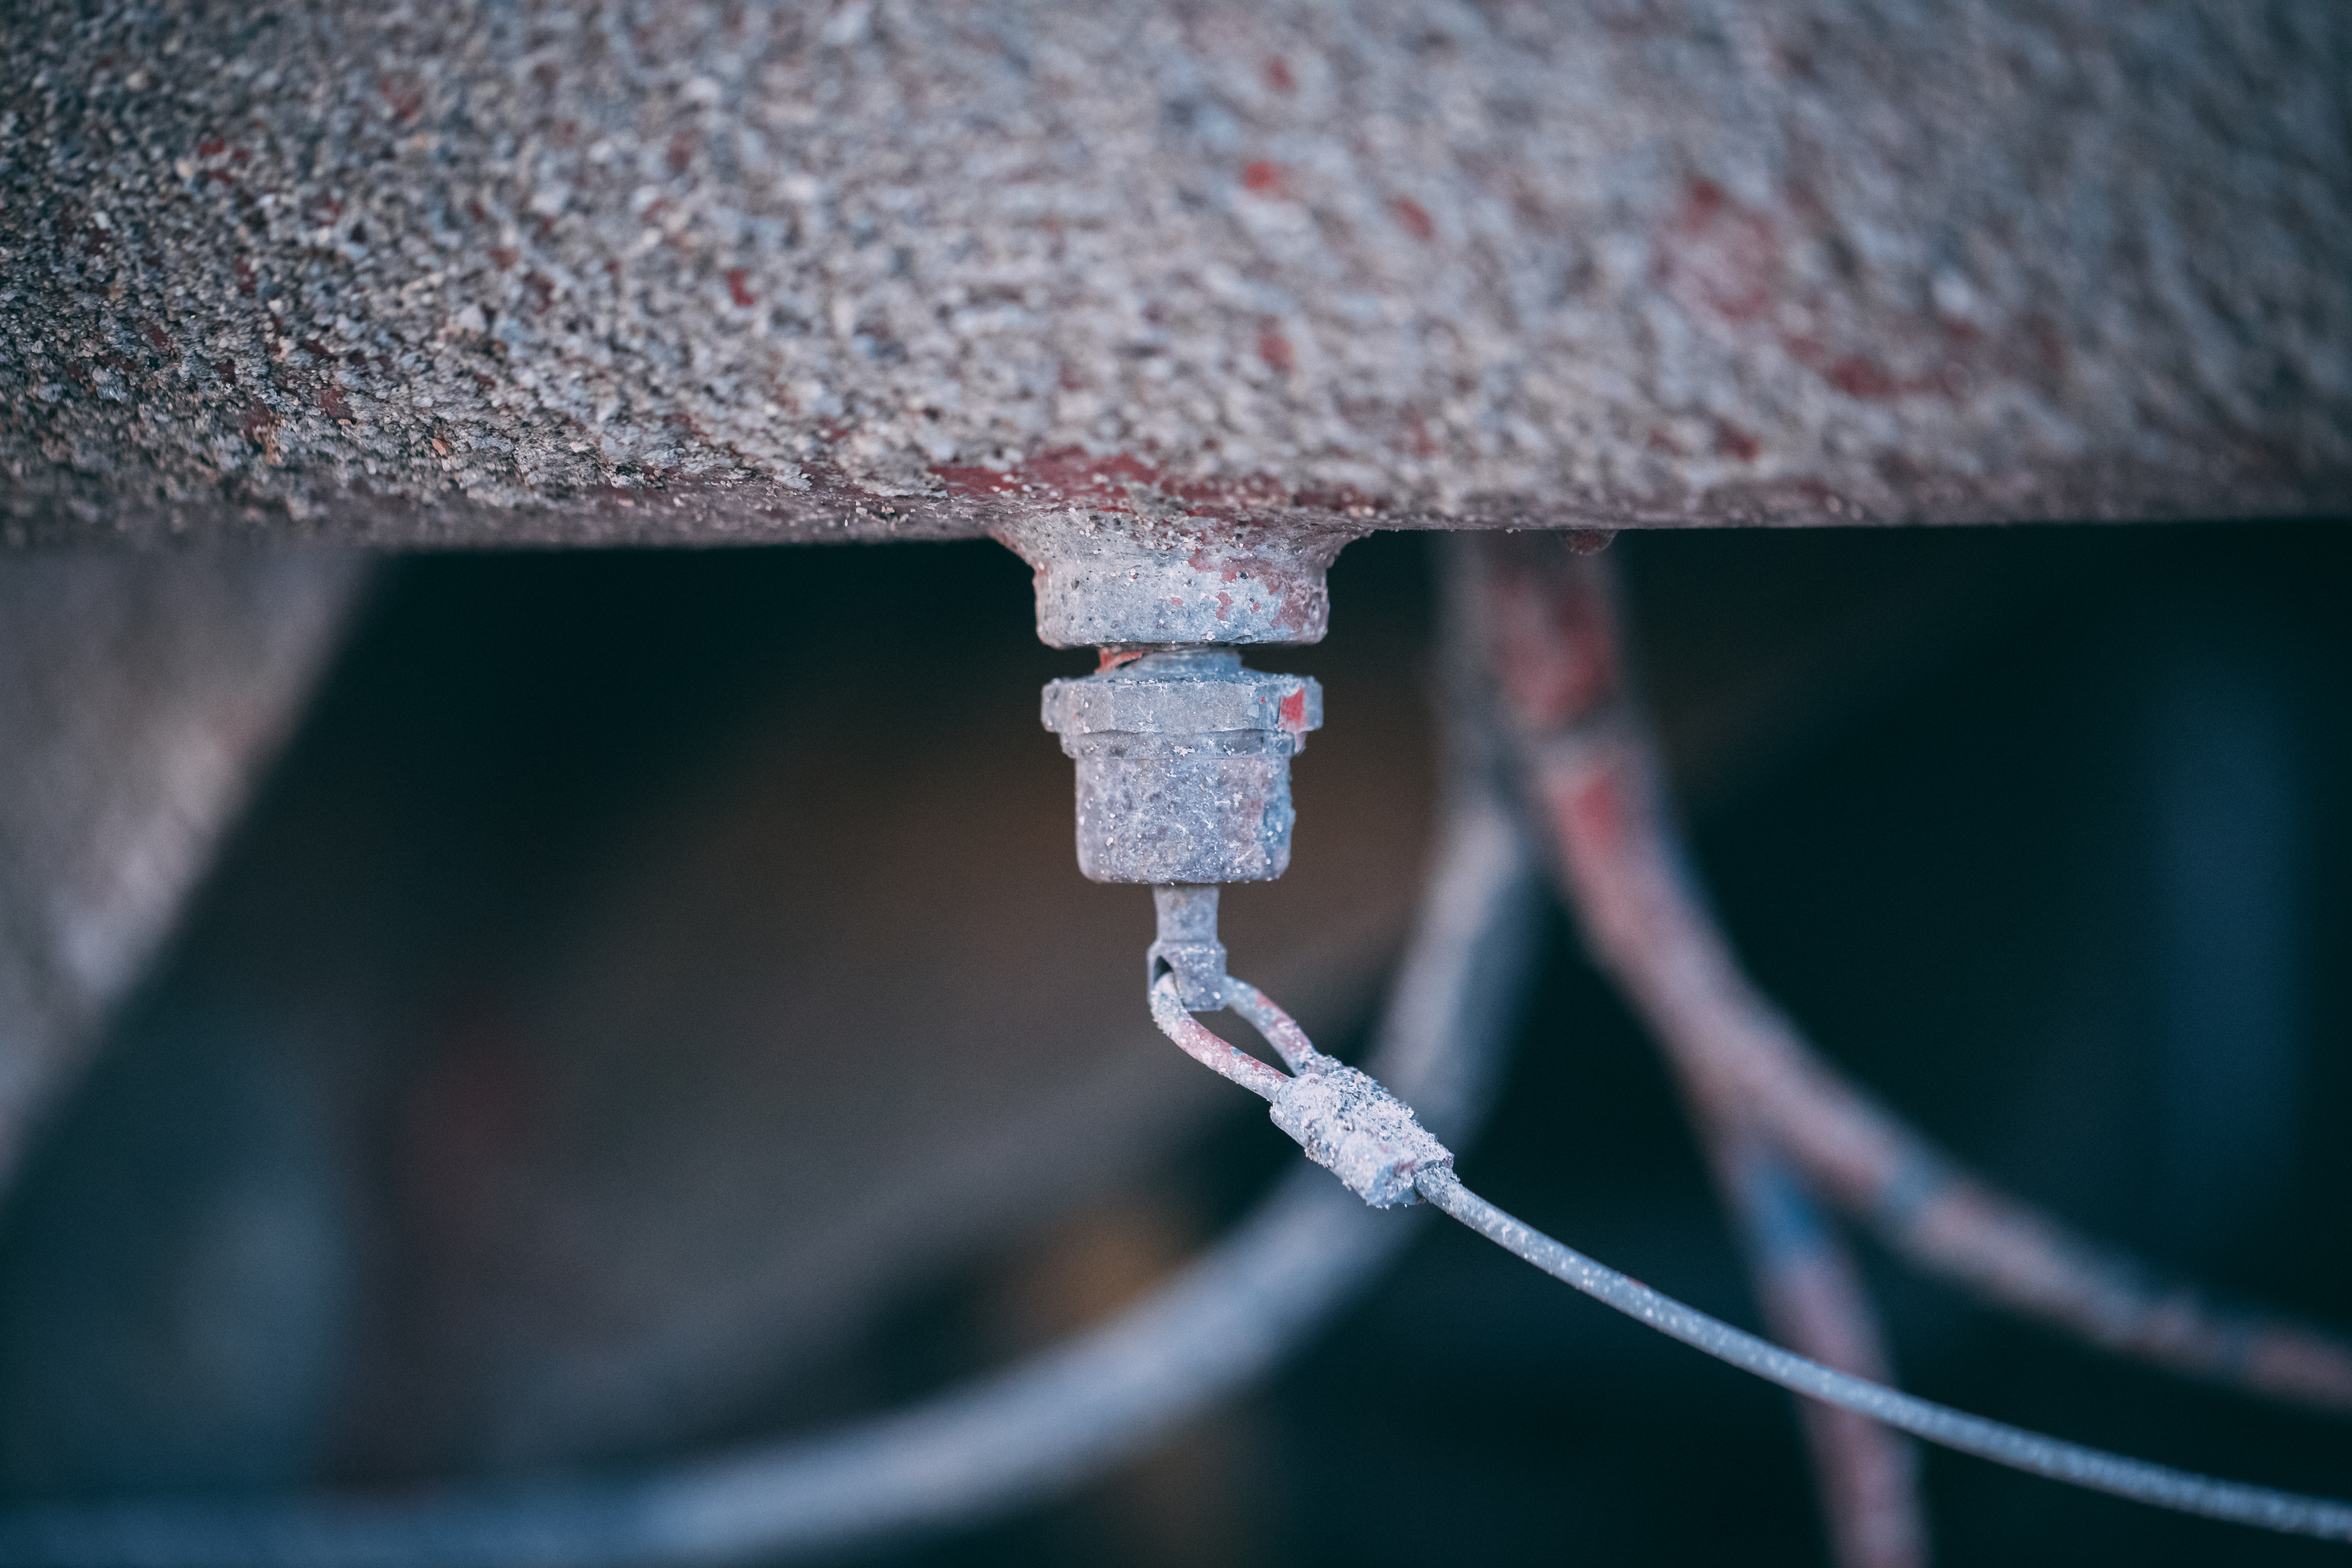
4. Air Tank Drains
- Water and oil may collect in the lines and tanks of the air brake system. In cold weather the water may freeze causing brake failure.
- There are two types of air tank drain valves manual and automatic.
- A manual drain valve is operated by turning the valve a quarter turn.
- Automatic drain valves may also be equipped with a manual draining utility. Automatic air tanks may also be equipped with heating devices that keep water from freezing in the tanks.
5. Alcohol Evaporator
- Alcohol evaporators are used to prevent water in the air tanks from freezing.
- If you have one you need to check the alcohol levels as necessary, especially in cold weather.
6. Safety Valve
- A safety valve prevents the air tank form accumulating too much air.
- If the safety valve ever releases air something is wrong and you need to have your system looked at.
7. The Brake Pedal
- Every time you use the brake pedal you are releasing air pressure from the system that needs to be replaced.
- If you used the brake pedal too much you will run out of air pressure and your service brakes will no longer work.
- You need to be conservative with your braking such that the air compressor has time to rebuild the air pressure.
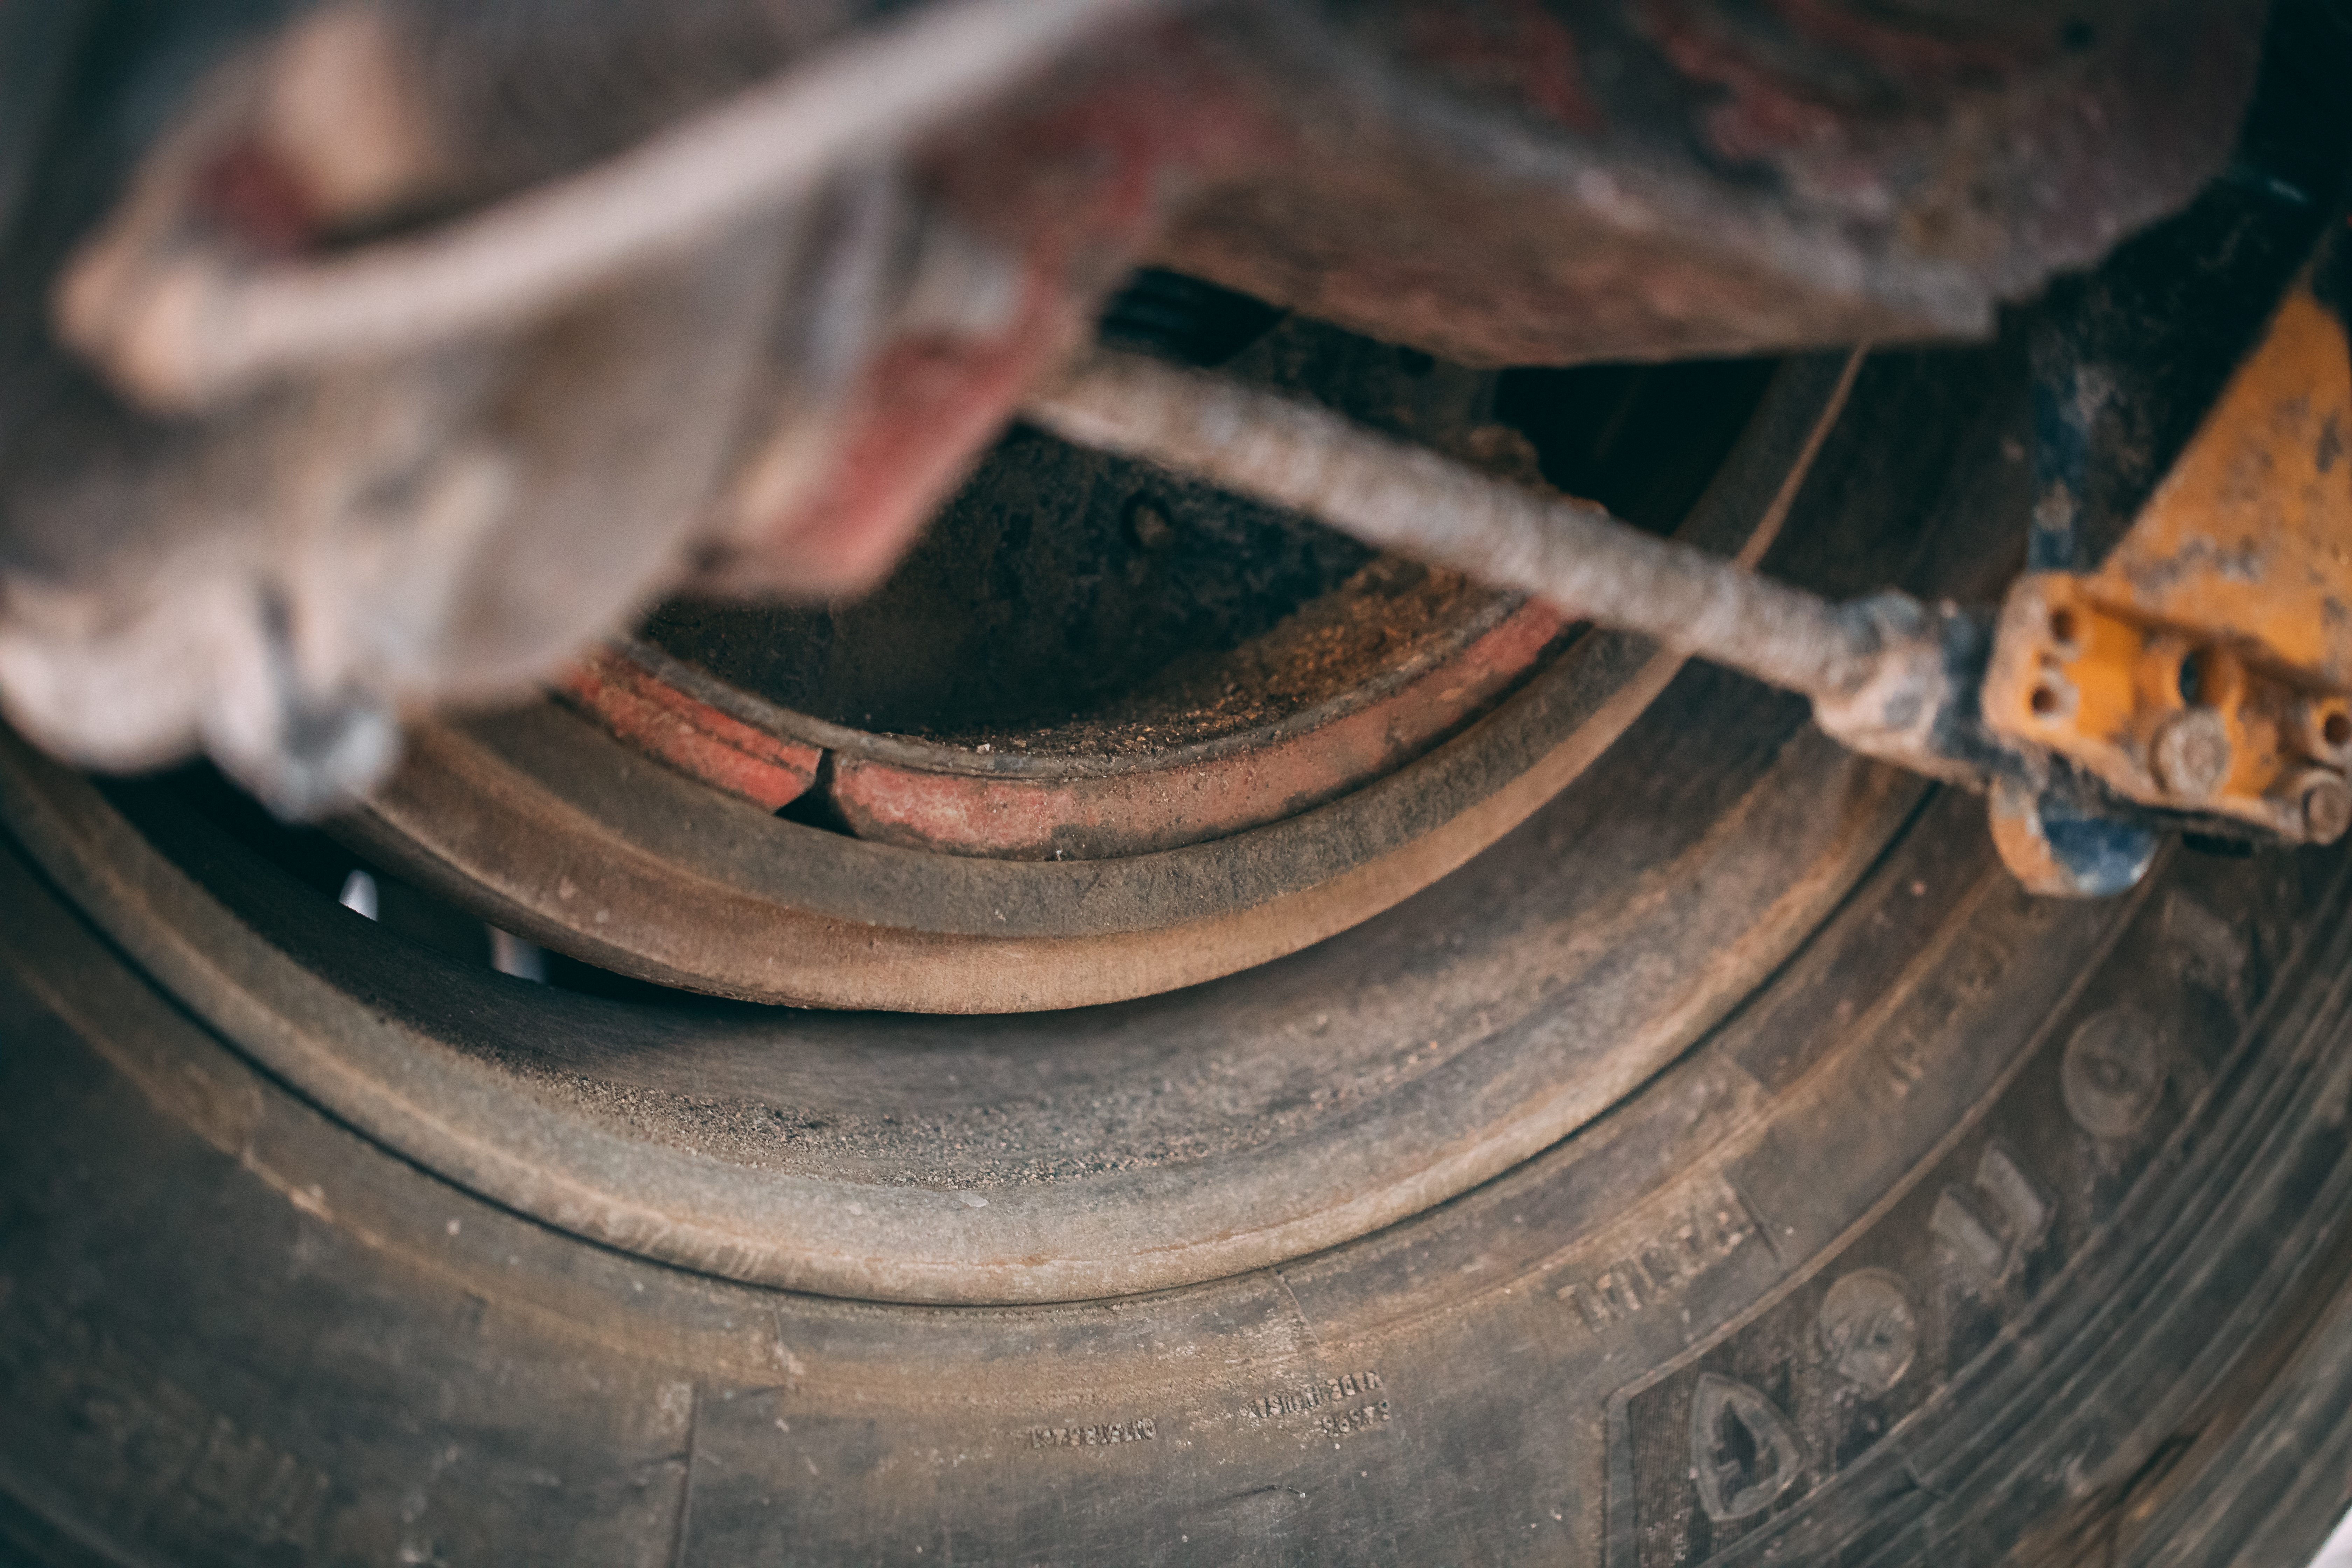
8. Foundation Brakes
Brake drums, shoes, and linings
- Brake drums are found at the end of each axle.
- A wheel will be bolted to a drum that will have shoes and lining that press against it, creating friction, to slow the vehicle.
- Friction creates heat and the drums can only withstand a certain amount of heat before your brakes will fail.
S-cam brakes
- Air pushes a rod out when the brake pedal is pressed which moves a slack adjuster that twists the brake camshaft.
- The S-cam presses the brake shoes against the drum slowing the vehicle.
- When the brake pedal is released a spring moves the brake shoes away from the drum.
Wedge Brakes
- A push rod pushes a wedge between two brake shoes. This pushed the shoes against the brake drum.
- they can be self-adjusting or need manual adjustment.
Disc Brakes
- If air-operated, air pressure adjusts the slack adjuster that turns a “power screw”.
- The power screw applies pressure to the brake lining pads.
9. Supply Pressure Gauges
- Air pressure will be visible on a gauge.
- If the vehicle has a dual air brake system, it will have one gauge with two needles or two separate gauges.
10. Application Pressure Gauges
- Are not on all vehicles
- Show the applied pressure to the brakes
- High application pressures could mean your brakes are fading, you have an air leak or out of adjustment.
11. Low Air Pressure Warning
- Low air warning signals are required on vehicles equipped with air brakes.
- These signals come on when the air pressure drops below 60psi (or 1/2 the governor cutout pressure).
12. Stop Light Switch
- Air pressure activates and electric switch that turns on the brake lights.
13. Front Brake Limiting Valve
- These valves cut the braking power to the front axle by half.
- Studies show that this limiting valve is not effective in preventing front wheel skids, it only limits braking power.
- Keep valve in “normal” position if it is a manual valve.
14. Spring Brakes
- Are parking brakes that are mechanically applied.
- Require air pressure for release.
- Will apply if your air pressure drops between 20-45psi.
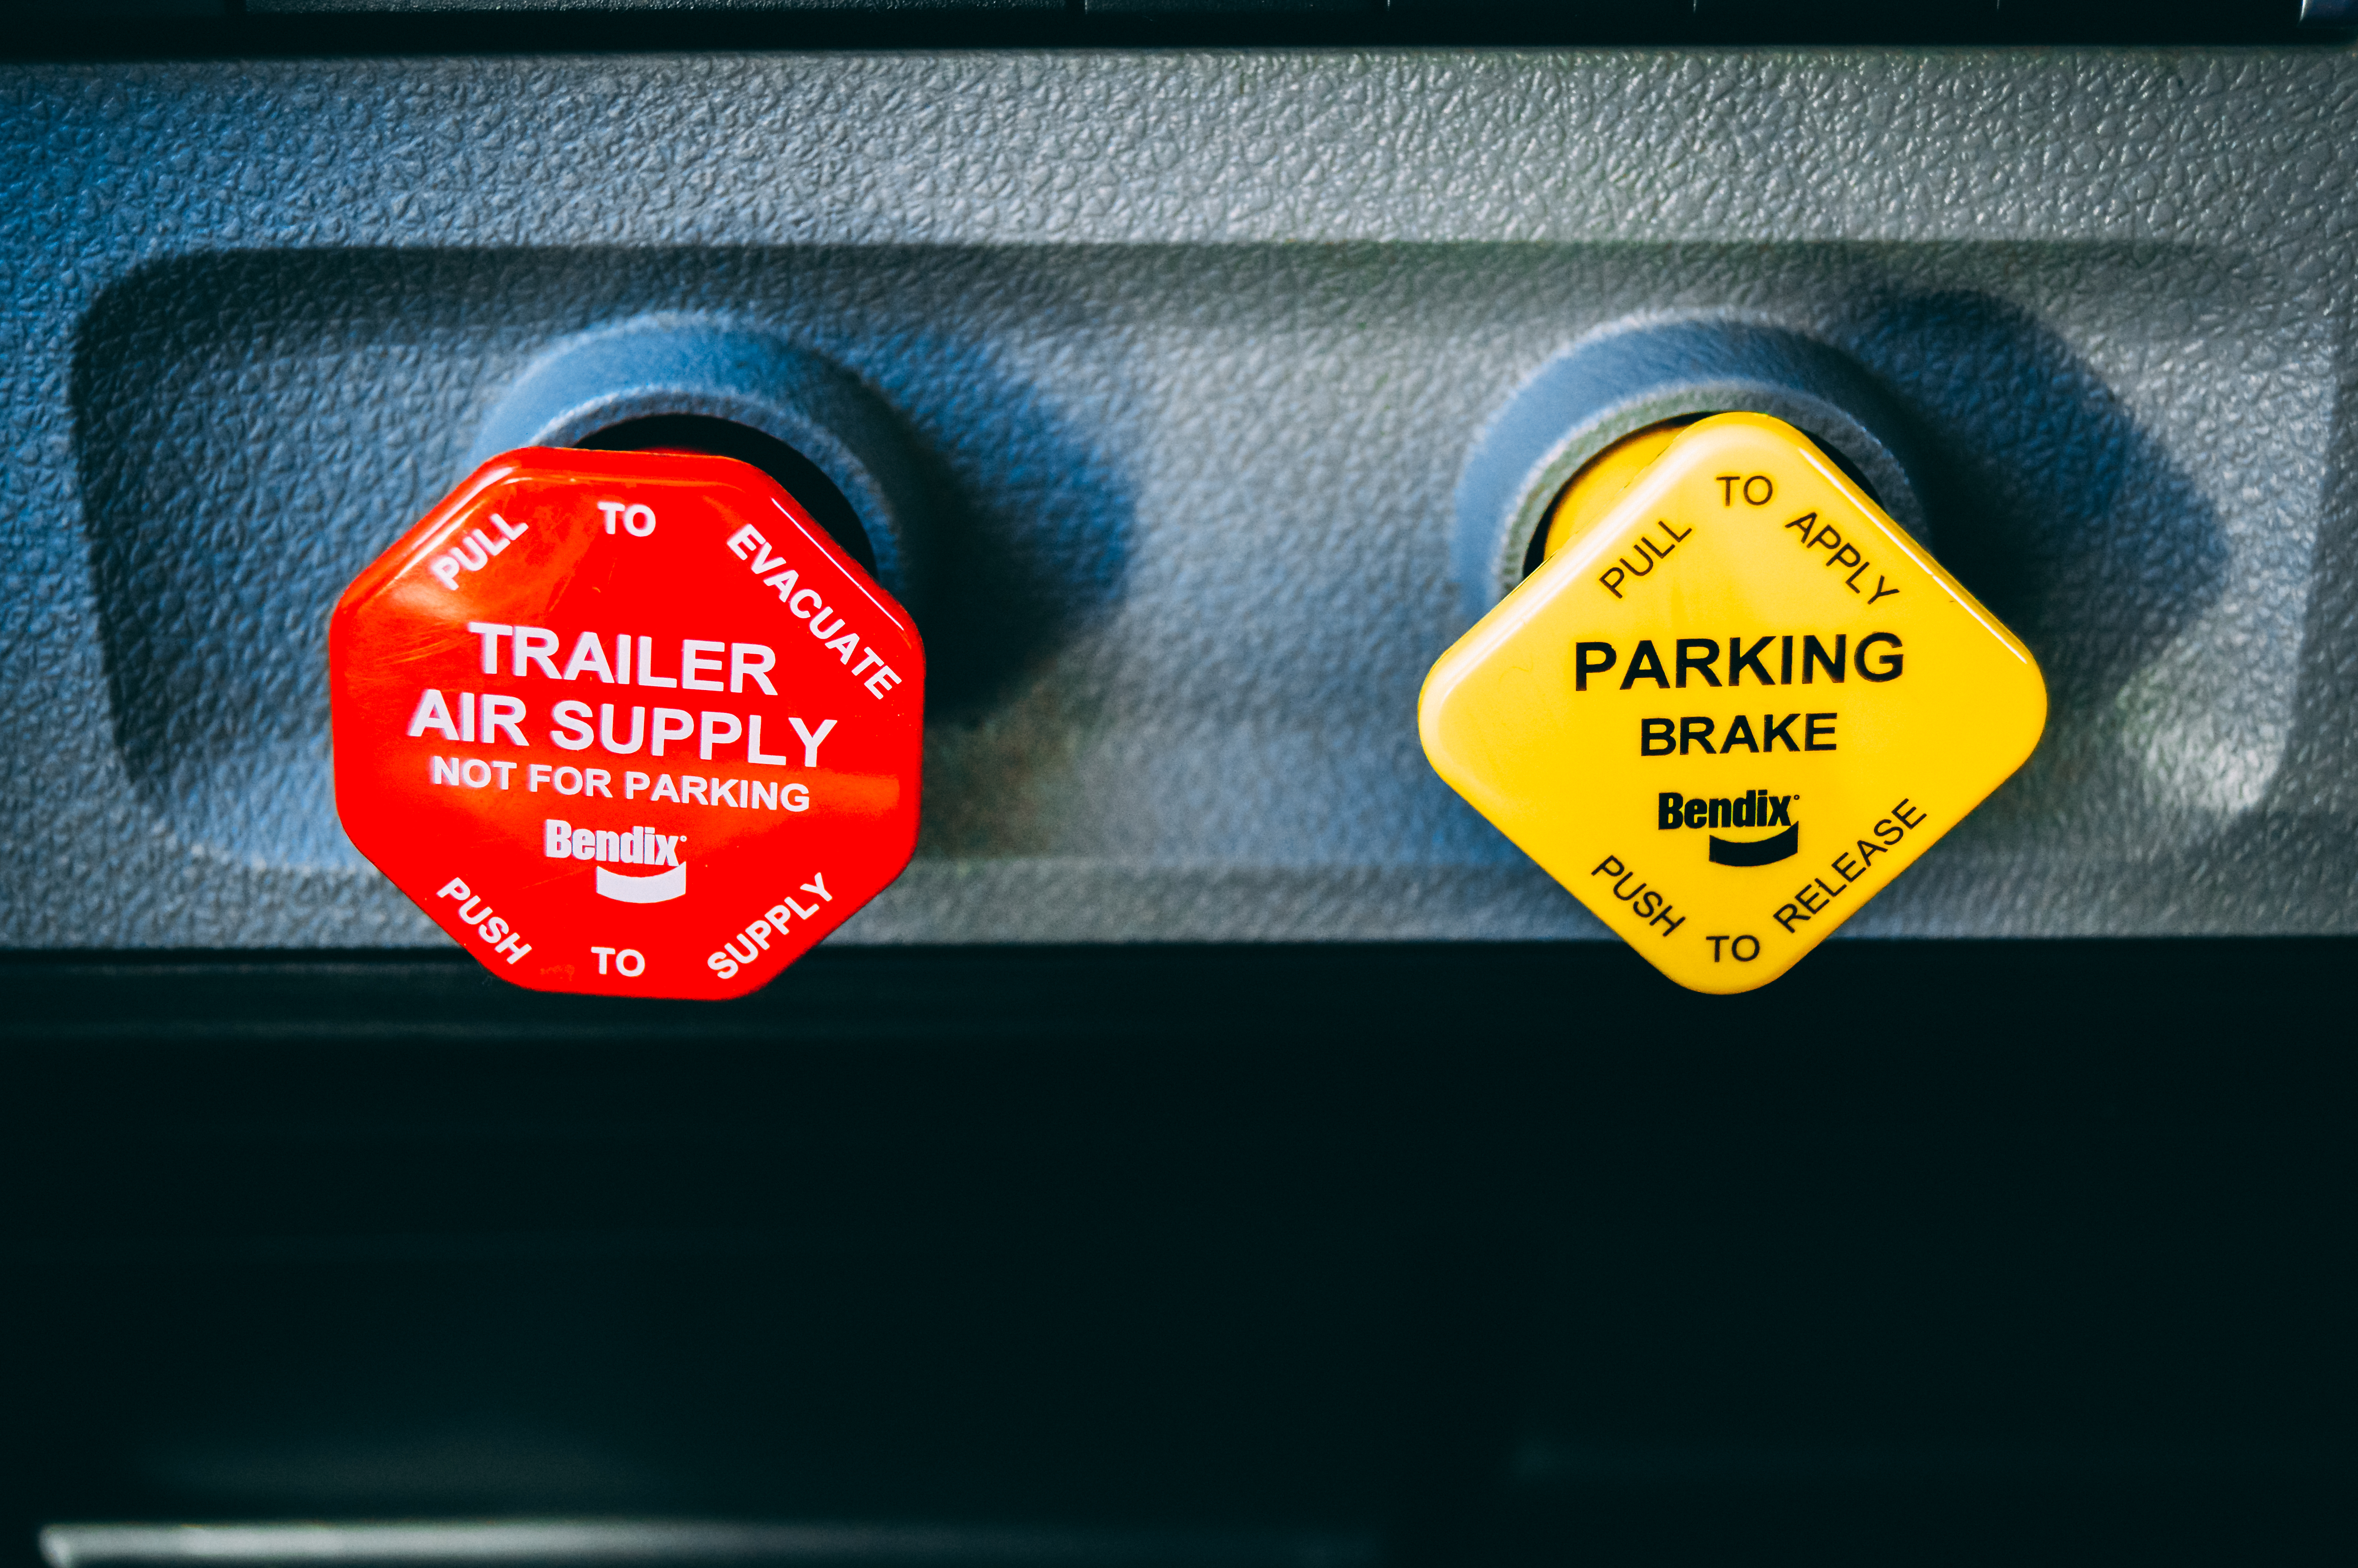
15. Parking Brake Controls
- In newer trucks, there is a yellow diamond shaped knob that you push and pull to control the parking brakes (spring brakes).
- Push to release, Pull to apply
- On older trucks they may be controlled by a lever.
- It is important to note that some brake systems can be damaged by pressing the service brakes while applying the parking brakes. Try to develop a habit of only using one at a time.
- If your vehicles has a modulating control valve for the spring brakes then the spring brakes can be applied gradually in-case of service brake failure. If you are parking make sure you fully apply the brakes and use the locking mechanism.
16. Antilock Braking System (ABS)
- ABS is a computerized system used to slow a vehicle effectively without locking up the wheels during a hard braking condition.
- Vehicles requiring ABS
- Truck tractors with air brakes built on or after March 1, 1997
- Other air brake vehicles built on or after March 1, 1998
- Hydraulically braked trucks and buses with a GVWR of 10,000 lbs or more built on or after March 1, 1999
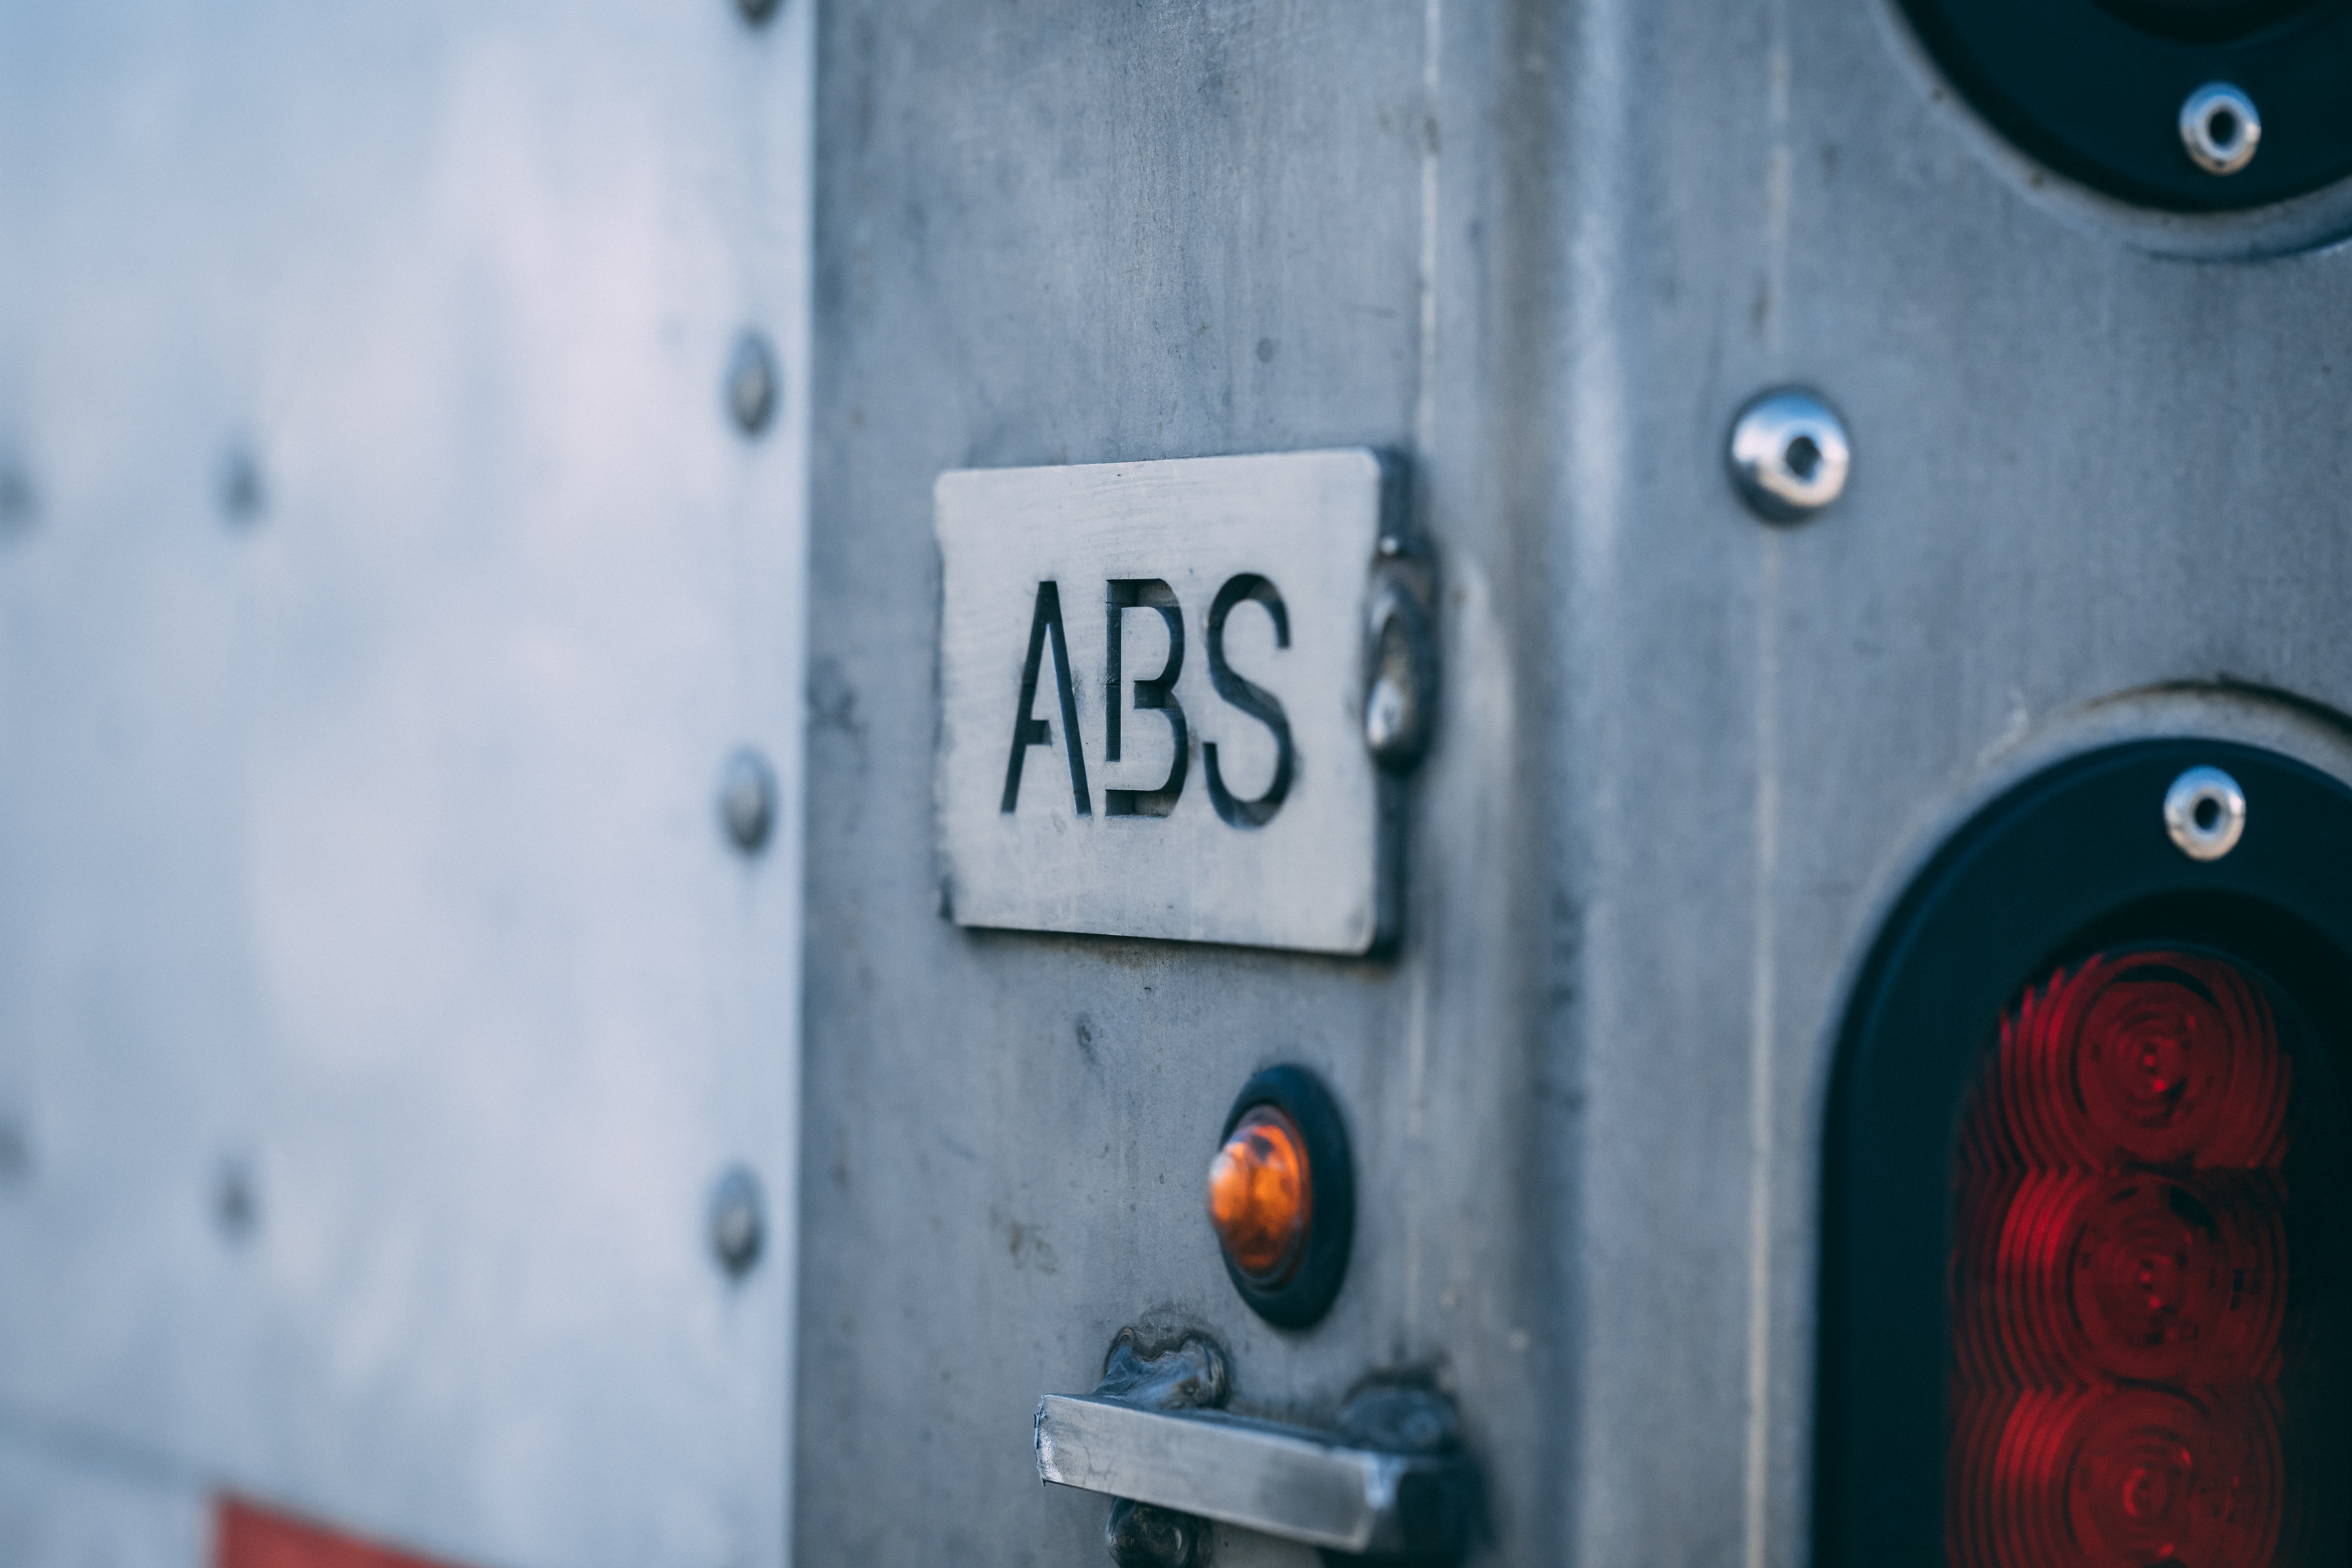
- Knowing if your vehicle is equipped with ABS
- Vehicles will have a yellow ABS malfunction indicator on their instrument panel.
- Trailers will have a yellow ABS malfunction light on the, front or rear, left side.
- Dollies manufactured on or after March 1, 1998 are also required to have a yellow indicator light on the left side.
- ABS on the tractor or trailer ONLY
- Having ABS even on a single axle gives you more control while braking a vehicle than having no ABS at all.
- ABS on tractor ONLY: Steering control should be maintained and jackknifing is less likely, but still possible.
- ABS on trailer ONLY: trailer is less likely to swing out, but you can lose steering control.
- Brake in a vehicle with ABS the same way you always have!
- ABS doesn’t shorten your stopping distance but increases your control during hard braking.
Dual Air Brake Systems
- Has two separate air brake systems controlled by a single set of controls.
- You have a “primary” and “secondary” system.
- You need to build up 100psi in both systems before releasing the parking brakes.
Inspecting Air Brakes
1. During Step 2 Engine Compartment Checks
- Check the air compressor drive belt for tightness and ware (if compressor is belt driven).
2. During Step 5 Walk-Around Inspection
Check slack adjusters on S-cam brakes
- Park vehicle on level ground and chock wheels
- Release parking brakes so slack adjusters can be manually moved.
- Pull hard on each adjuster, it should not exceed one inch from the area of the push rod attachment. If so, your brakes may need adjustment.
- If your vehicle is built after 1994 it will have automatic slack adjusters. These also need routine checks.
- If an automatic slack adjuster needs manual adjustment there could be other issues involved.
Check brake drums (or discs), linings, and hoses.
- Brake drums (or discs) must not have cracks that are more then half the width of the friction area.
- Linings must not be lose or covered with oil or grease.
- Make sure the air lines are in good condition and connected to the brake chambers.
3. Step 7 Final Air Brake Check
Test low air pressure warning signal
- Chock wheels first
- Release brakes and turn off the truck while it has air pressure above 90psi (as long as you have enough to keep the warning light from coming on).
- Turn on the electrical of the truck and pump the brake pedal till the air pressure drops just before 60psi, where the warning signal should come on.
Check that springs come on automatically
- Continue pumping the brakes and reducing the air pressure down to around 20-40psi.
- The spring brakes should come on, and the brake valves should pop out.
Check for rate of air pressure build up
- Now you need to turn on the truck and build up your air pressure.
- To do this keep your foot on the accelerator while the truck is in neutral, pressing the pedal enough to keep your RPMs between 1000-1500.
- You should see your air pressure begin to rise.
- The pressure should only take 45 seconds to rise from 85-100psi.
Test air leakage rate
- Make sure wheels are chocked
- At full capacity (usually around 125psi) turn the engine off and release the parking brake.
- After initial air loss the rate of air loss should be no more than 2psi in one minute for single vehicles, and 3psi per minute for combination vehicles.
- Apply at least 90psi of pressure to the brake pedal, the air leakage rate should not exceed 3psi per minute for single vehicles, and 4psi per minute for combination vehicles.
Check air compressor governor cut-in and cut-out pressures
- The air governor should cut-in when your air pressure drops below 100psi.
- The air governor cut-out should occur around 125psi.
Test parking brake and service brake
- Your wheel chock(s) should be removed.
- Apply parking brake and lightly pull against the brake in a low gear to show that it will hold.
- Release parking brake and pull forward at around 5mph and firmly apply the brake pedal, notice if the vehicle pulls to one side or the other. Pulling could indicate brakes are out of adjustment, you have a steer tire with low air pressure, or bad suspension.